Computer Dust Enclosure
Introduction
The Computer Dust Enclosure protects computers in the Dos Pueblos Engineering Academy's machine shops from building up dust and sustaining damage. With my mentors' help, I translated a rough sketch of the enclosure into a SolidWorks model before manufacturing and assembling its parts in real life. Some general skills learned during this project include:
- Communicating design concepts with others
- Drilling countersink holes with a drill press
- Troubleshooting part dimensions
- Calculating the cost of material
- Modifying existing assemblies
- Laser-cutting acrylic panels
Art and Design
The initial sketch of this enclosure (figure 1) included dimensions, fillets, material types, and material thickness. The panels were to be made out of 0.215 inch acrylic and held up by 1 inch 80/20 rods. However, the sketch did not include details such as the placement of holes and the length of the side panels, so I had to use the Measure tool in SolidWorks later on to fill in this information.
Before committing to this design, I calculated the cost of producing an enclosure with these materials. The price was estimated to be around $75, so we were given permission to make the project a reality.


Computer-Aided Design
Based on the initial sketch, I made acrylic panels (figure 2) and 80/20 (figure 3) according to its specified dimensions. This involved heavy use of Boss Extrude, Fillets, and Hole Wizard. After the creation of these parts, we realized that those dimensions didn't account for the thickness of the 80/20, so I updated the dimensions of each part.
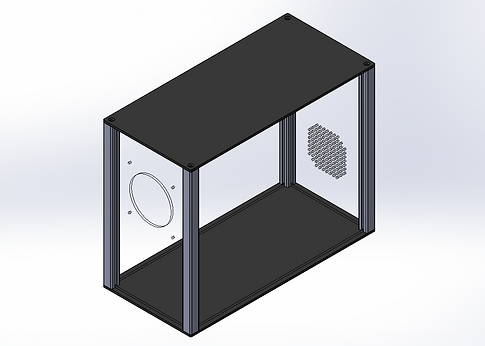
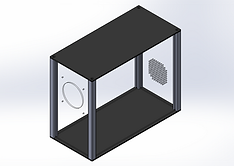
Then, I created the first iteration of an assembly (figure 4) that required me to learn new tools such as Width Mate. However, the front panel needed to by modified to account for the fan, and I designed a hole pattern in the back to ensure that the computers were also properly ventilated. This resulted in a final assembly (figure 5) that was used for manufacturing the actual product.
Manufacturing
Once I made DXF files of each acrylic panel, I used a laser cutter to create the parts. Each panel was first made out of cardboard to test that the dimensions were correct before committing to using acrylic. While I had prior experience with the laser cutter, these were the first parts that I made on the machine for a larger project.
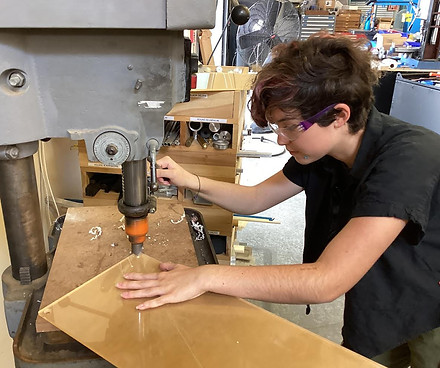
The drill press was not a machine that I knew how to use before this project. However, the top and bottom panels needed their holes to be countersunk, so my mentors guided me on the machine before I took over and finished the rest of the holes by myself (figure 6).

Conclusion
Working on the Computer Dust Enclosure allowed me to experience the process of creating products in an engineering career. Because I had a voice in the conception of the enclosure, this project felt more like my own creation than anything else I brought out of the DPEA. I have more confidence than I did before about my ability to create a lasting impact in the spaces that I engage with.